Blender Tools,Making Of,Meet the Team
Hello all!
It’s Manu here; this is my first post. :)
We Gooseberry artists are actually supposed to submit blog posts and tutorials a couple of times per month or so. However, because of the intense concentration on the first-priority tasks, there hasn’t been much activity on that front, at least from me. But that is about to change!
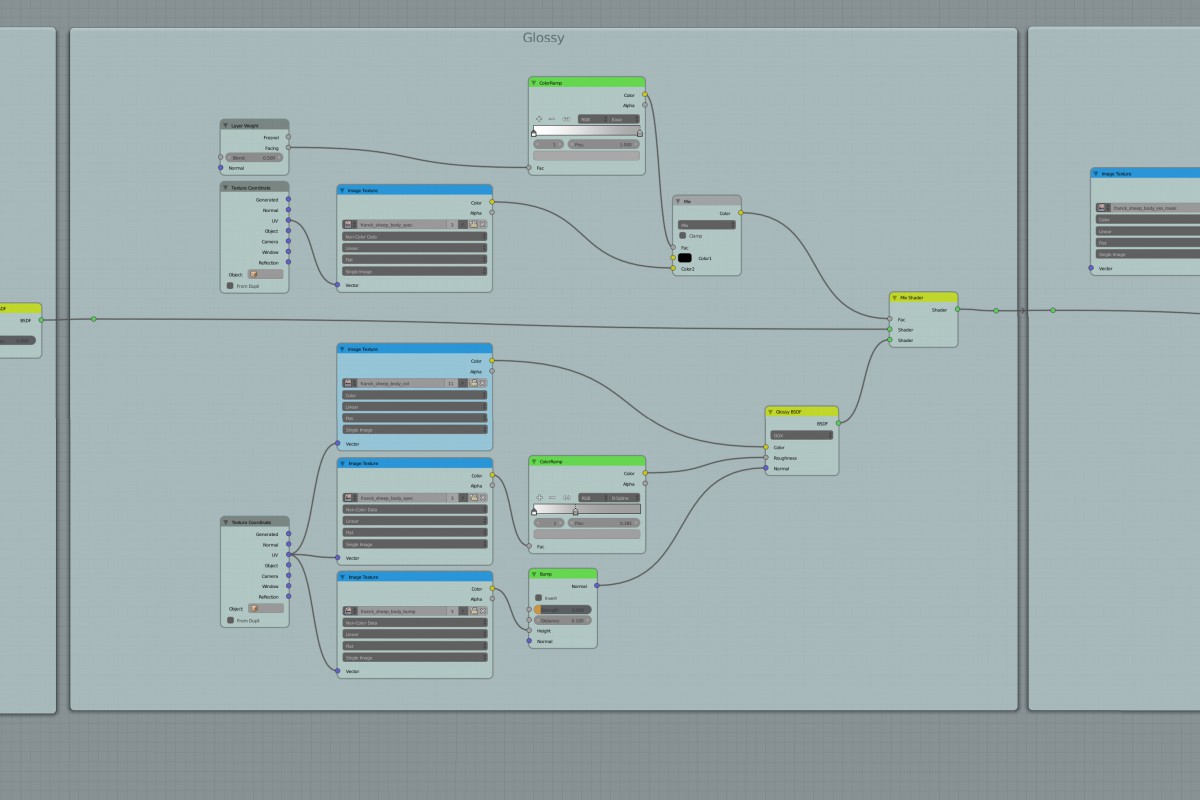
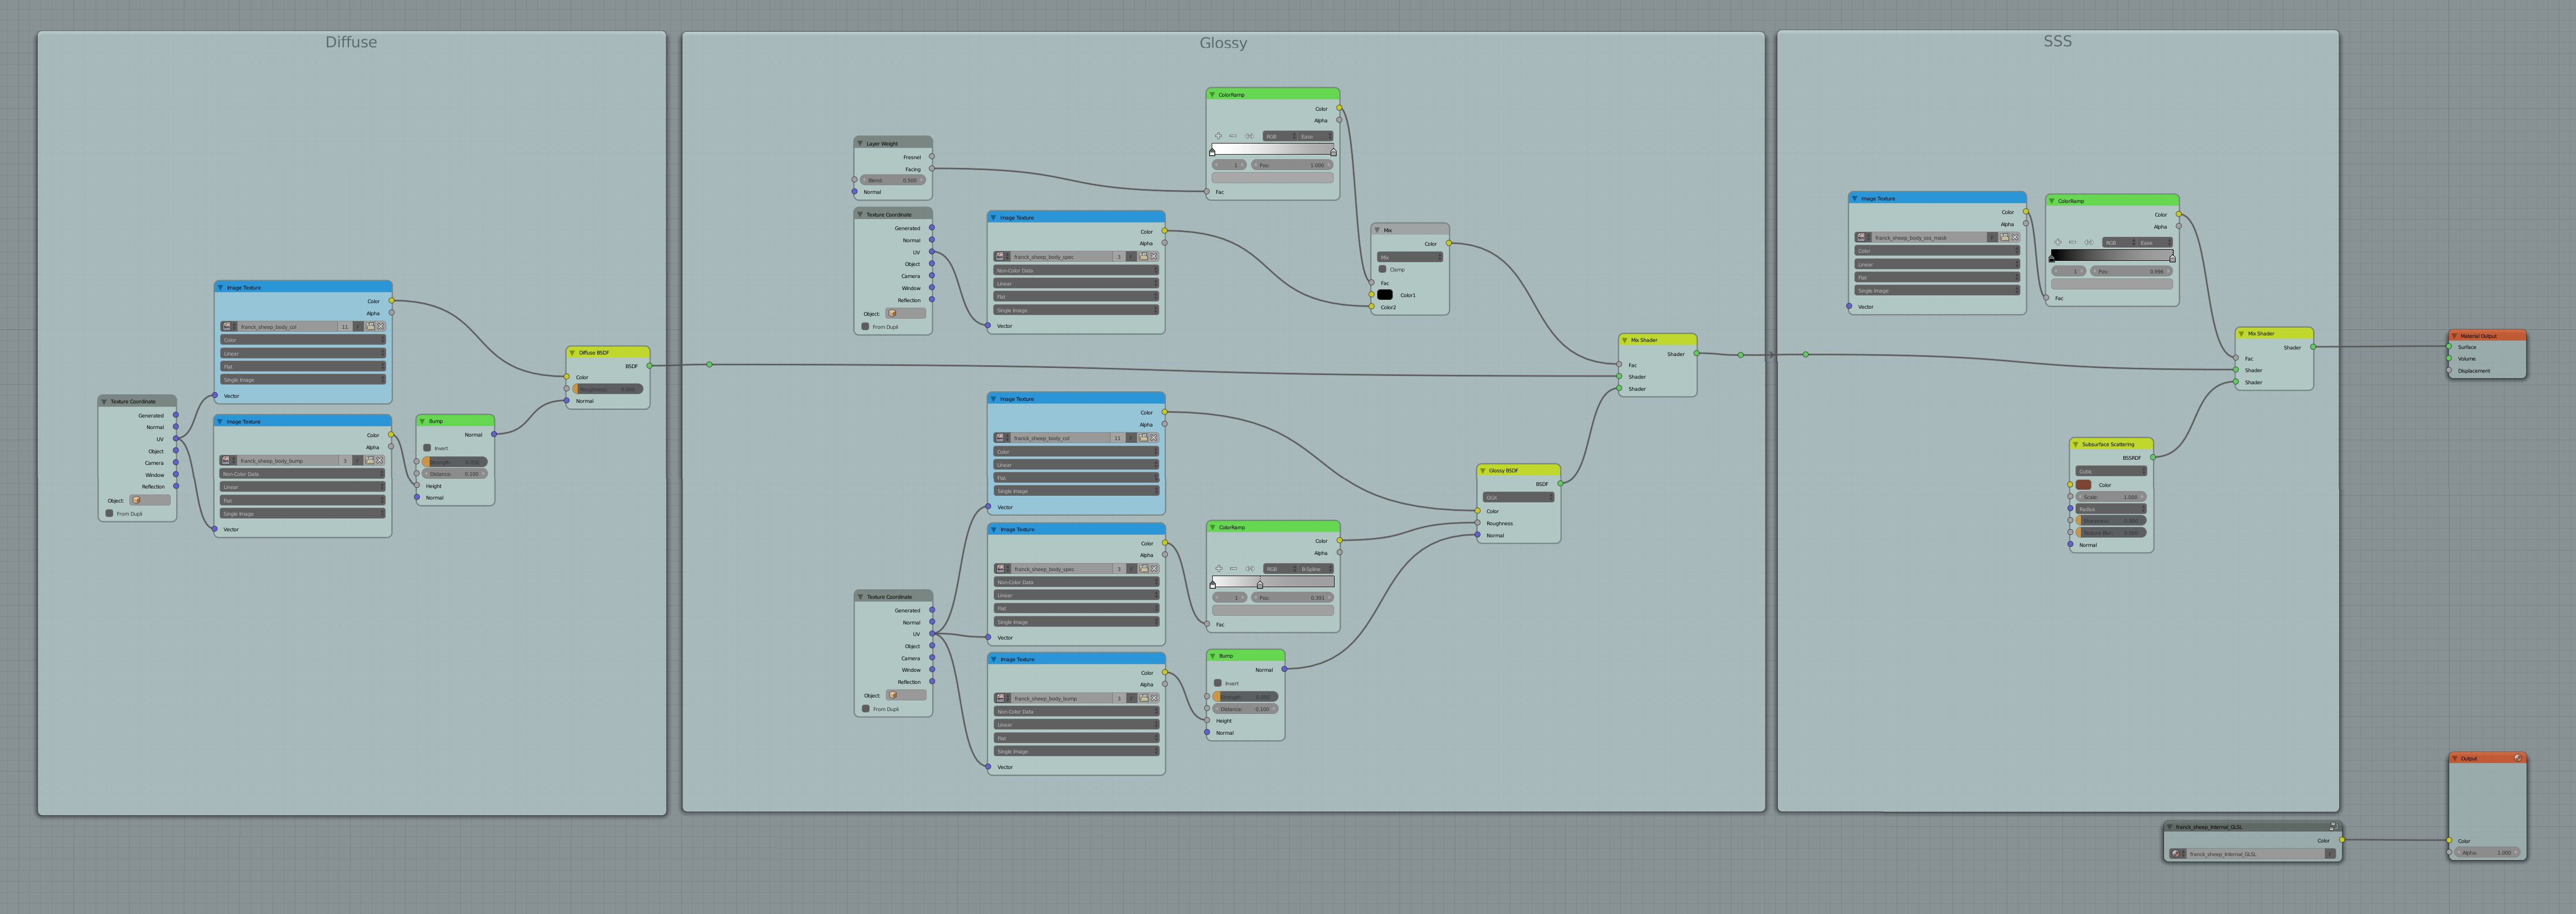
Just wanted to quickly share how I have set up my node editor at the moment (click on the image to see it larger):
Node editor layout with frames and colored nodes
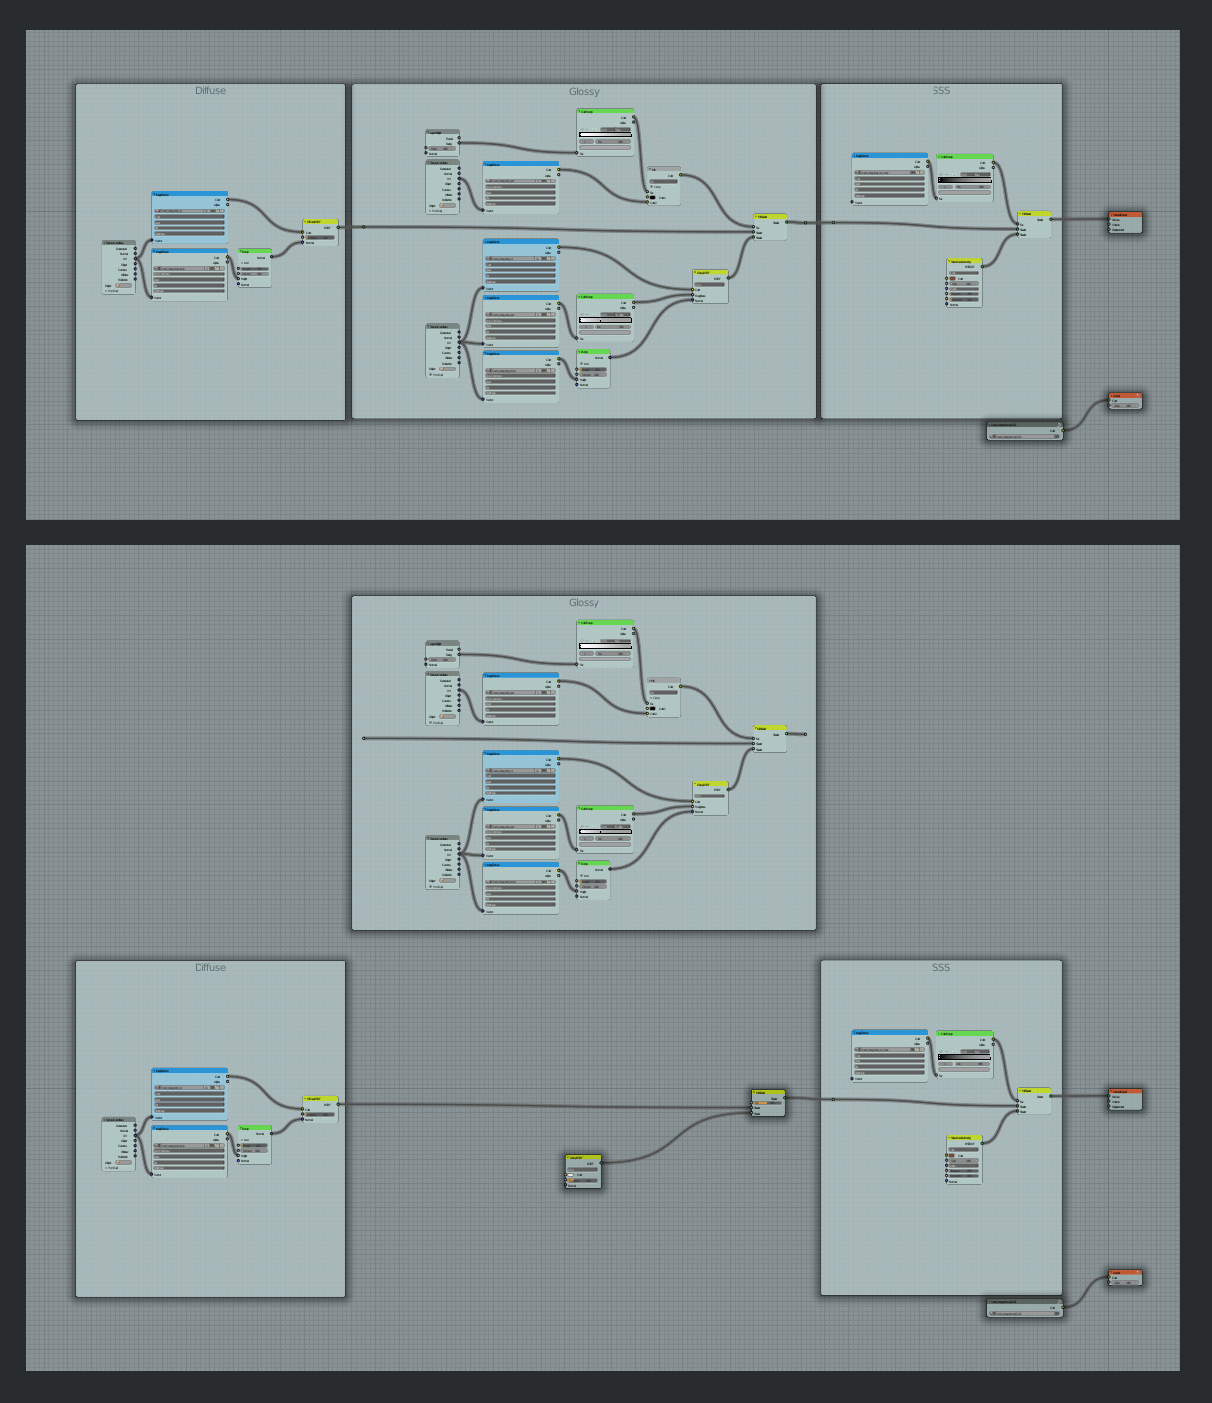
Temporarily shoving aside the complicated Glossy Frame Module
The lower-right corner GLSL material node group for the Blender Internal renderer simply contains the same texture images to make it easy to paint the color, bump, and specular maps in the Blender Internal Viewport with GLSL enabled. That way you actually see what you’re painting shinier or bumpier, etc. It’s a technique that, for example, Andy uses in his wonderful Creature Factory 2 Workshop.
In the image on the right you can see how using the node frames as modules can be handy if you want to, for example, temporarily replace a complicated glossy setup from the material with something experimental or to just make the material faster to render. It’s also handy to save some of those modules as node groups into your personal node library for re-use in the future. In addition, keeping the nodes clean is essential for team work — or even for a single artist, coming back to tweak the nodes after, say, 5 months.
It’s a bit of a shame this method forces you to duplicate Image Texture and some other nodes unless you resort to group nodes (which, in turn, makes things a bit too complicated). However, this works decently enough for my current task (shading Franck’s body) – so, I’m happy. :)
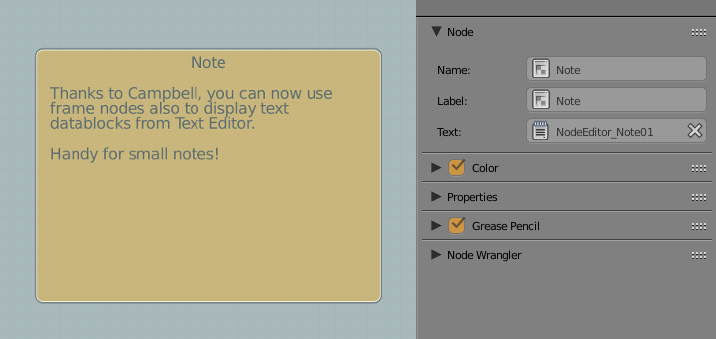
Also, this new feature was just added
Cheers!
Hi, thanks for the tips ! Complex node setups indeed have a way of quickly turning into a noodle soup if one doesn’t use such techniques .. Cheers !
Semi-stupid question… those large images of your node setups. How do you create them?
Whenever I have to make them I always end up taking a bunch of screen shots and aligning them in GIMP. Just wondering if there is a better way, as the screen shot approach is super tedious:-/
Yep, that’s what I did as well :P
Gladly Blender stretched to 2 monitors provide you good snapshots, and in GIMP I have modified almost all the shortcuts so it’s quite fast for me to fool around in there.
Nice explanation here thank you Manu for your great report on this topic. Keep it clean it’s easy working and for other projects who will come.
another stupid question: why do you use a colour ramp in between the, for example, sss_mask texture and the sss shader??
Hi
The franck_sheep_body_sss_mask texture goes from pure black to pure white. With ColorRamp it’s faster and easier (than with GIMP) to adjust the values of the black and white, which affects the amount of sss. For example, I had painted white mostly for the ears in the mask texture, so making the white a bit more gray decreases the amount of sss for the ears. And of course if I want the body (that is everything except the ears in the the mask) to have a little bit of sss, I can make the pure black (no sss at all) a bit whiter with the help of the ColorRamp node.
In addition, you can affect the whole object’s SSS amount by adjusting the SSS node’s color value.
But, I’m not sure if this is the best way to do this thing. It’s just my current method at the moment.
Cheers!
mj
hi
The blurry pictures, Unable to see any thing.
Nice flow. Nodes are pretty new to me. I’ve used them in a current project and I happened to try what you are showing, but it still got out of hand for me. I’ll get there. :)
I also didn’t know you can save as a “personal” setup for use in other projects. It’s Blender, so it doesn’t surprise me. I’ll have to check out how to do that.
Thanks for sharing.