Yesterday was a holiday here in the Netherlands, so your weekly highlights reel is a day later than usual… But here it is! Check out the full weekly livecast here, and then head on to the highlights for a more in-depth look at last week’s Gooseberry developments.
Throughout these highlights we’ll point you toward specific folders on the Blender Cloud containing the artists’ and developers’ latest Gooseberry developments. New to the Cloud’s Gooseberry section this week is a separate Tutorials & Extras section, where you will find all the making-ofs and behind-the-scenes tips, footage, and tutorials made for the project to date!
If you haven’t yet, read all about the project — what it means to be open, why that’s important, why we need the Cloud, and what’s ahead — in last week’s article on Opensouce.com.
We did not watch the latest cut of the Cosmos Laundromat during the livecast this week, but you will find it in Mathieu’s weekly folder on the Cloud. What Mathieu did show during this week’s meeting was 2 versions of the pivotal tornado scene: a more intimate version largely similar to what you’ve seen in the previous edits, and an alternative longer/wider cut. Although many liked the appearance of the sheep in the longer cut, others felt it lost the intimacy and emotional impact of the original. So, the final version will hew closely to that original plan. (Though you can, of course, watch or download the alternative whenever you like in Mathieu’s weekly Cloud folder.)
Andy’s tornado madness continues! (Did you catch the Andy’s tutorial on how to recreate this effect at home, by the way?)
See Andy’s March 29-April 2 work on the tornado and cloud formation (from look to speed to twistiness) in this video.
One key change is that it was decided that the tornado needs to be BIGGER:
You’ll find more versions of this bigger storm (plus the video above) in Andy’s weekly folder on the Cloud. Andy’s final touches will include desaturating the very intense/dark colors you see here a bit.
Sarah and Beorn have been working on 2 sides of the same shot: where Victor interrupts and speaks to Franck at the cliff’s edge. Sarah has been animating Franck, from his pushing the branch through the opening of the conversation. You’ll find 3 versions of this scene, in layout, splining, and a more advanced animation, in Sarah’s weekly Cloud folder. What you missed when the sound went out in the weekly livecast: going forward, Sarah will be adding more variation to Franck’s expression, which should go from surprise to skepticism to annoyance.
Beorn has, meanwhile, been animating Franck leading up to this point (i.e., the moment he reaches the cliff and turns around to push) as well as Victor’s side of the introduction. You’ll find the latest versions of each of these shots in Beorn’s folder on the Cloud.
Hjalti is working more on the sequence where Victor replaces Franck’s rope with the timer, blocking it carefully to get the timing (and camera) right. The tricky part of this shot is the number of interactions between the rope and fur, timer and fur, Victor’s hands and all of the above, etc. Or, in Hjalti’s words: “I’ve never had to work on a shot with this many pairing cheats before!” Don’t worry, he’s recording the full process for a later tutorial. (But you can already see the progress through 9 versions this week in his weekly Cloud folder.) His tip for now? Don’t use “Child of” — always use “Copy-Transform”!
Pablo has continued his task of adding all the important details to the animators’ work, focusing this week especially on the opening sequence (seen here in this low-res render):
In this scene, you’ll notice more detail to the hooves, including some slipping action as Franck tries to stand still on the rock, as well as falling particles from the tree. You can find this full animated low-res render plus an OpenGL version in Pablo’s folder on the Cloud — where you will also find new renders of Franck reaching the cliff (no flicker this time) plus the layout animation of the scene Sarah is working on.
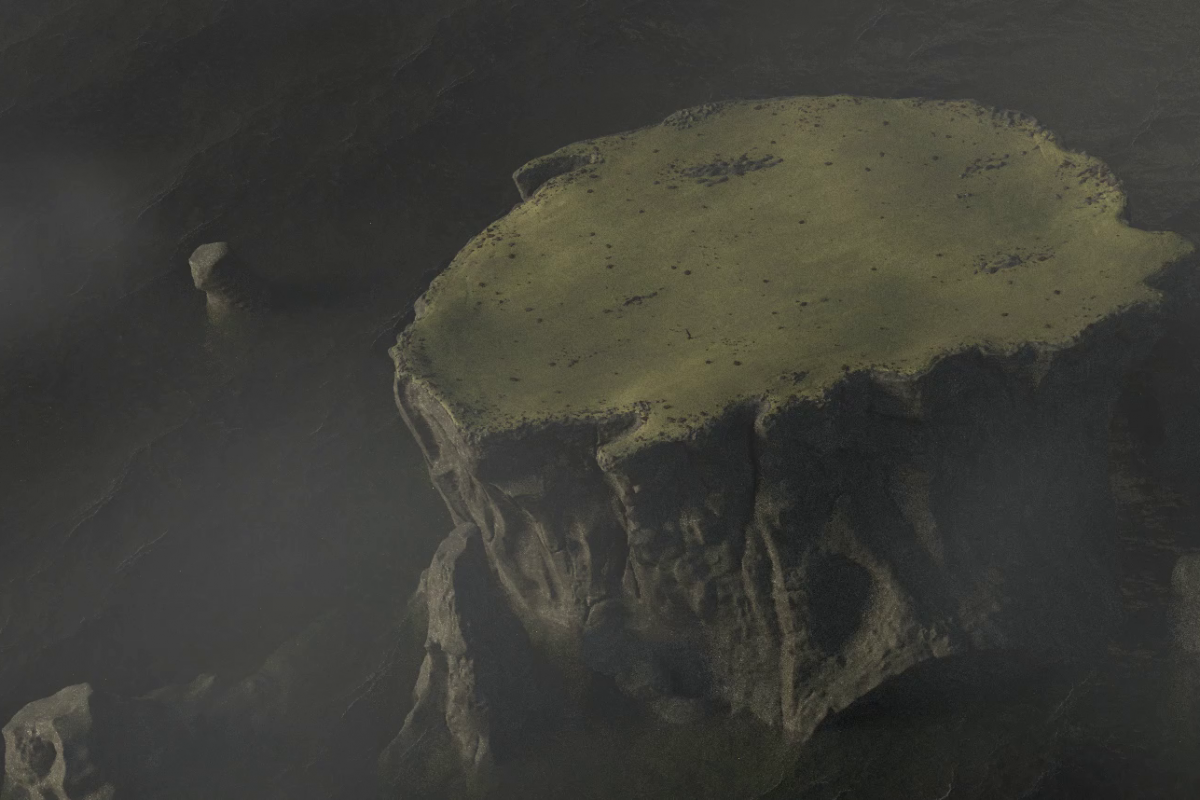
Manu has also been working on a bunch more renders of animations to date (all of which you’ll find in his weekly Cloud folder), including: Victor walking away (with tweaks to the lighting), Hjalti’s blocking shot of the rope-timer switch (notice more sky details, like moving clouds), Franck pushing the branch (even without the hair in his face), and a wide shot of the island (which may be enhanced with white caps and foam later).
Hey , In regards to the “Pairing Cheats” How difficult would it be to make (in code) a bone constraint that targets a bones head or tail independently ? I’ve been playing with a rig idea at the moment and I think it would solve the same difficulty your having , I personally want to tri vertex parent an empty to a mesh and then constrain a bones head or tail to the empty so that as I make extreme shape keys , the armatures bones will follow the mesh , “On the fly Retargeting” Obviously the transforms and scales of the bone would need to constantly & automatically zero themselves , but with this method and the bone chain constrained to a curve and the curve animated with a maintain volume constraint , it would quickly become easy to animate complex pairing as the overall rig would be constantly updating itself…. A thought… Keep up the good work.